Cloudflare will give you a free SSL certificate, the steps involved are really simple, this guide will quickly run through how to get up and running with Cloudflare
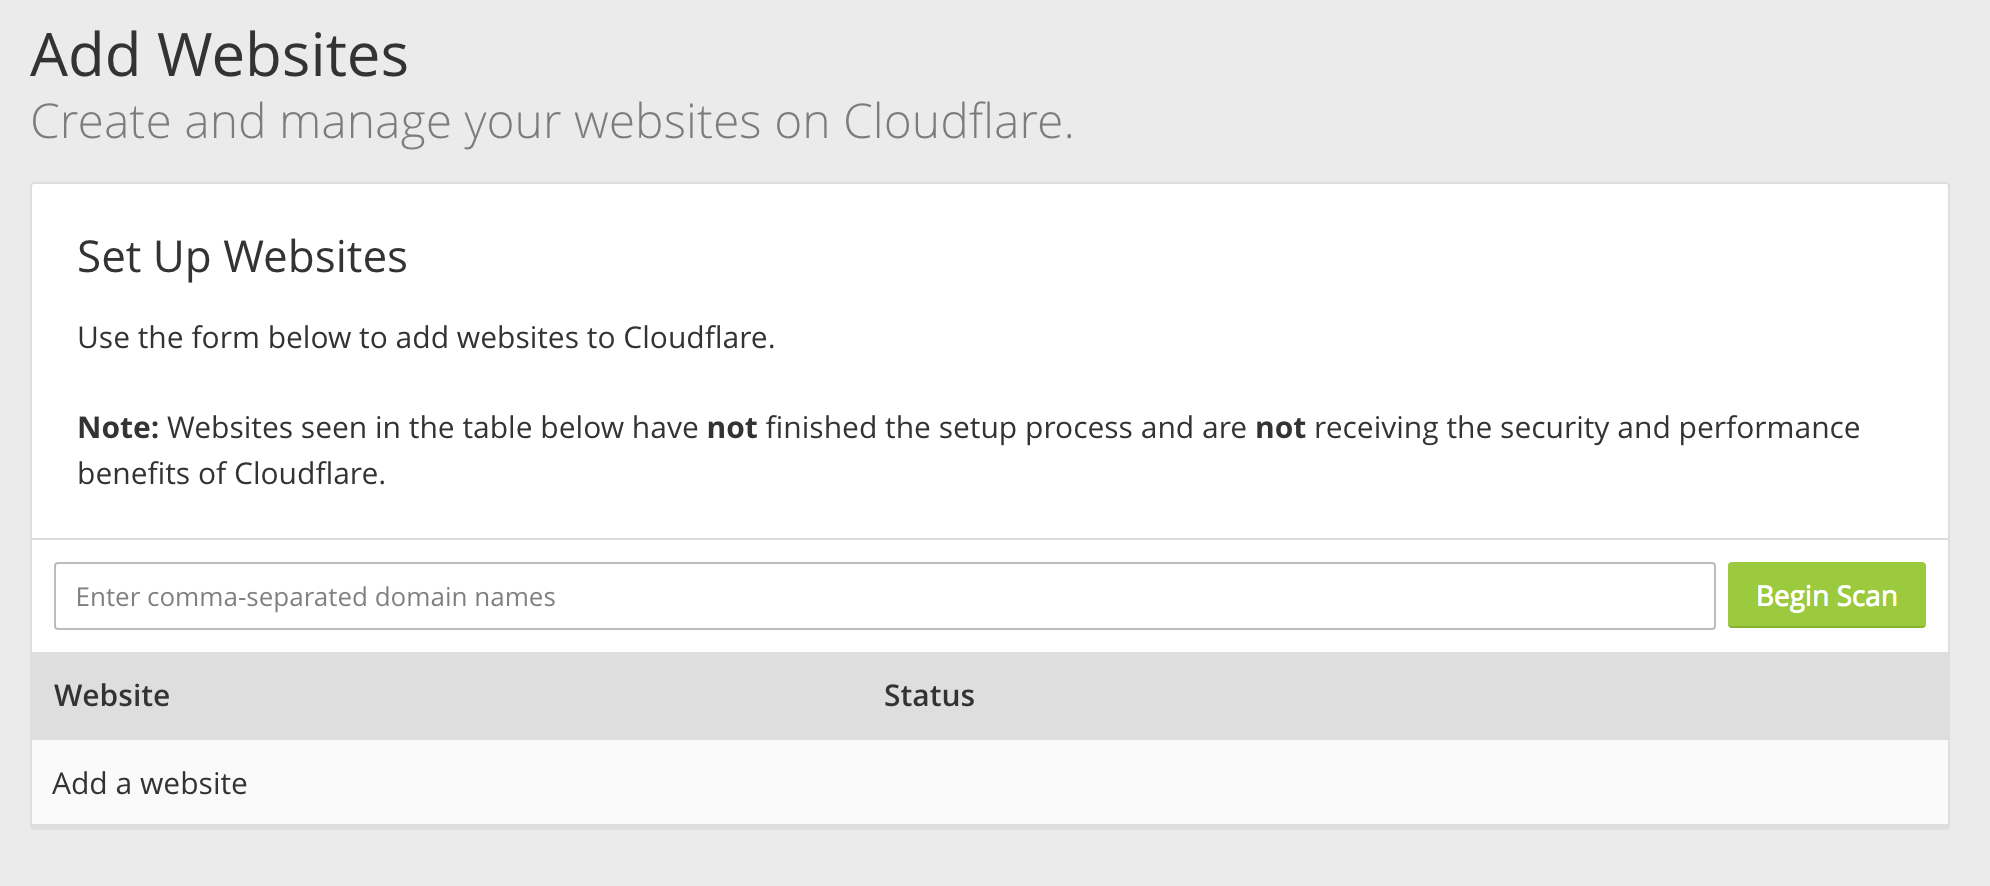
First visit https://www.cloudflare.com/ sign in or create an account and login then click add site enter your website address and click on begin scan.

Then all your DNS settings will be scanned, this is so when you set your name server to Cloudflare’s you won’t break anything on your site or email.
Once the scan is finished click on continue setup. A list of all found DNS records will be displayed at this point you can add/remove and update any DNS settings, click continue to carry on.
Next select a plan I find the free version adequate.

Next you’ll be presented with 2 name servers update your existing name servers on your domain registrar to the ones provided. Go back to the Cloudflare setup and click continue.
At this point you’re done. Check over the settings on Cloudflare and customise them as needed. It’s not a required step but it’s worth getting familiar with the options.
Name severs can take up to 48 hours to become fully active, usually it’s very quick but that largely depends on the registrar.
The overview page will you show the status of your domain.

Once the DNS has fully propagated meaning you’re sure the domain is ready through Cloudflare then change your website to use https instead of http.
Subscribe to my newsletter for the latest updates on my books and digital products.
Find posts, tutorials, and resources quickly.
Subscribe to my newsletter for the latest updates on my books and digital products.